
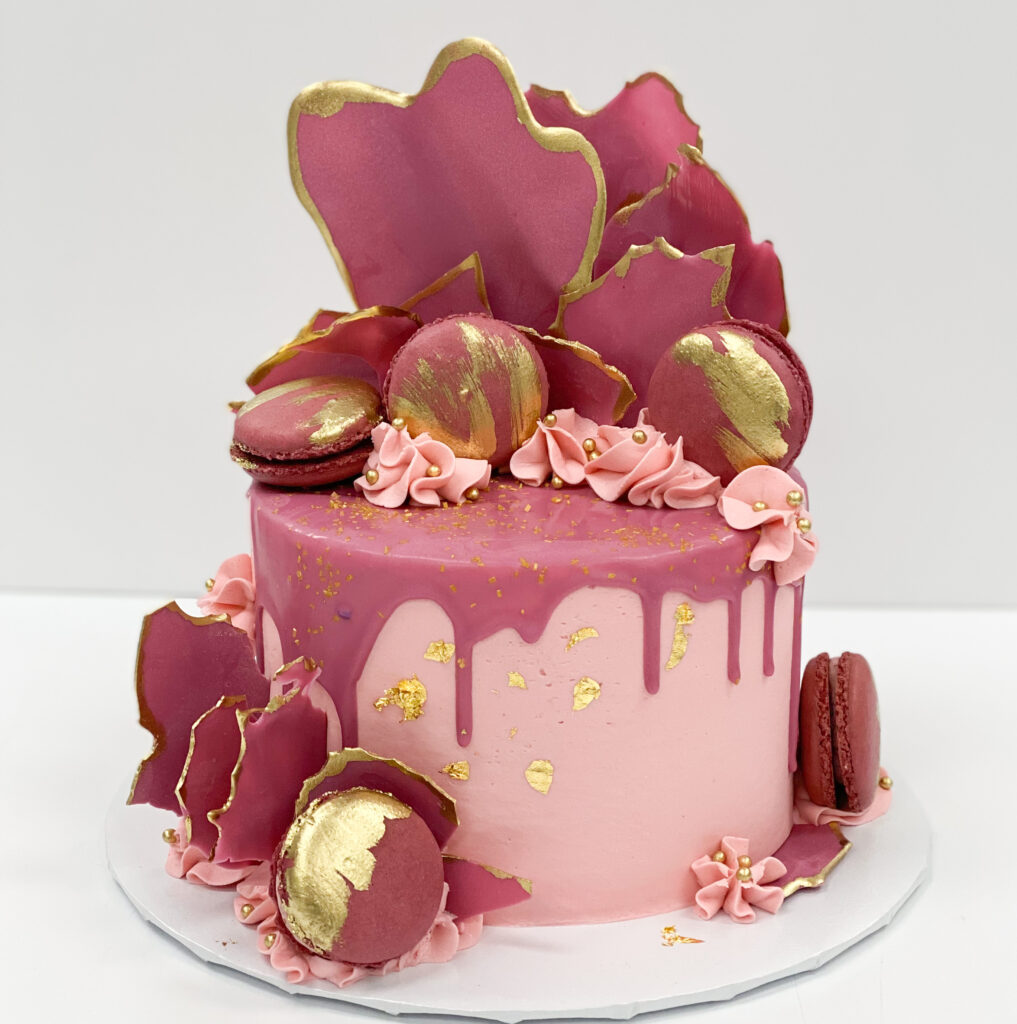
Classic Color Combination
Is there such a thing as too much pink? Especially pink paired with gold? We don’t think so and neither did this client. This was a small cake – 6″ […]
Is there such a thing as too much pink? Especially pink paired with gold? We don’t think so and neither did this client. This was a small cake – 6″ […]
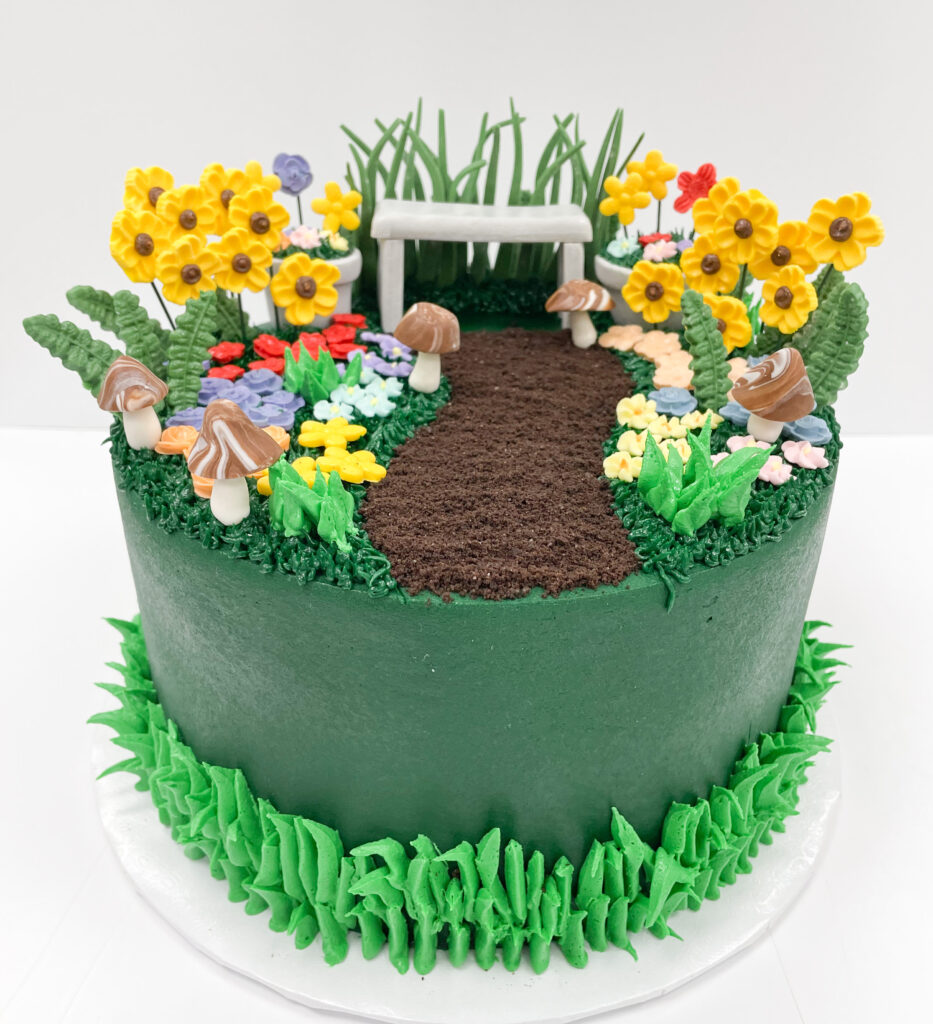
This cake was such a fun breath of fresh air! It’s very wintry here, so Spring flowers and green grass – even on a cake – is a welcome sight!
We were so excited to receive this order. Not only was it a cake for a friend of the bakery, but it was essentially two gifts for the birthday girl
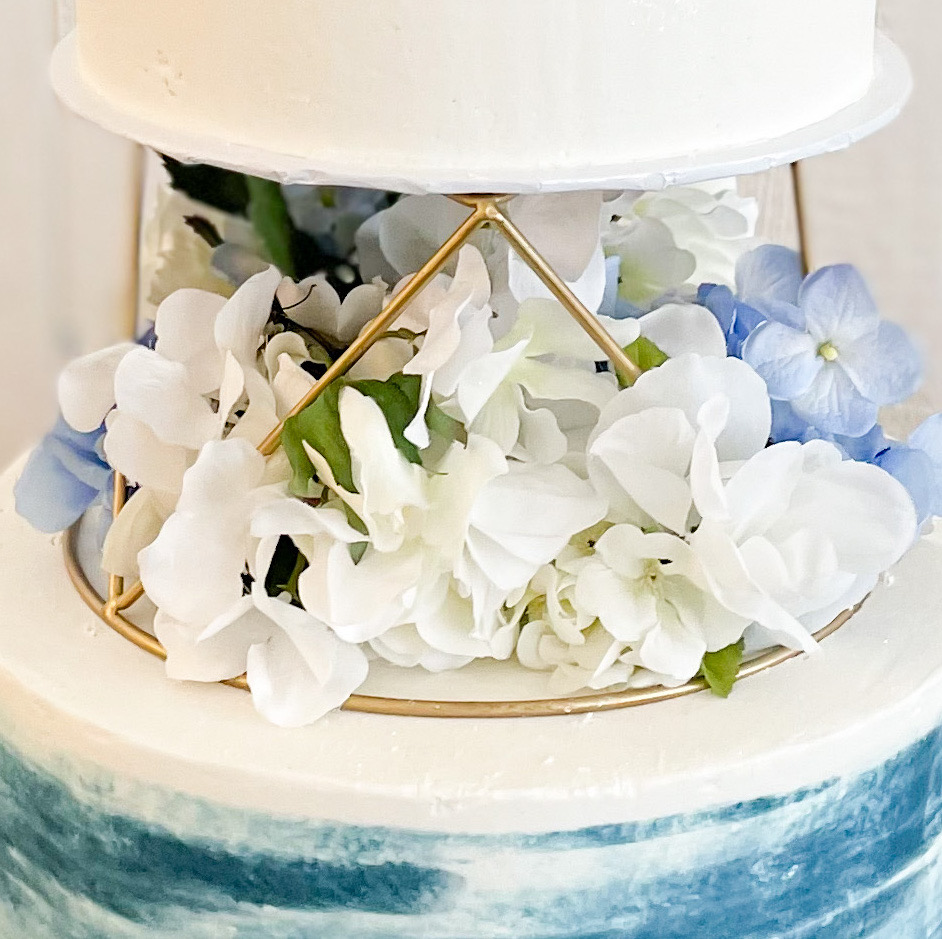
As a cake person, when you get an order for a wedding cake that has color on it, you have to get it right! This cake will be in a
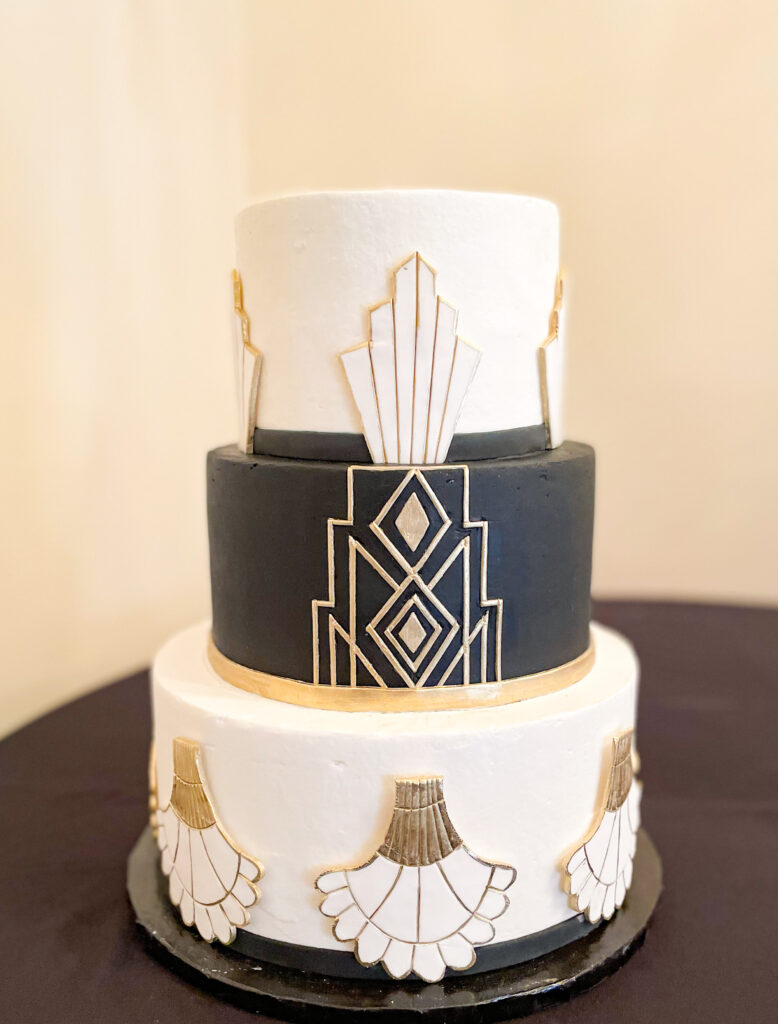
Black and white and gold…so pretty! We absolutely loved creating this cake for a New Year’s Eve Wedding at The Mayo Hotel in Tulsa, OK. This cake was a three-tier

We love creating fun groom’s cakes! We have done several shoe birthday and groom’s cakes over the years, but this one was super special because it was for a professional

Cakes that mimic inanimate objects are always fun to create! This one was for a groom’s cake at the Mayo Hotel. This cake was essentially a 2-tier cake with the
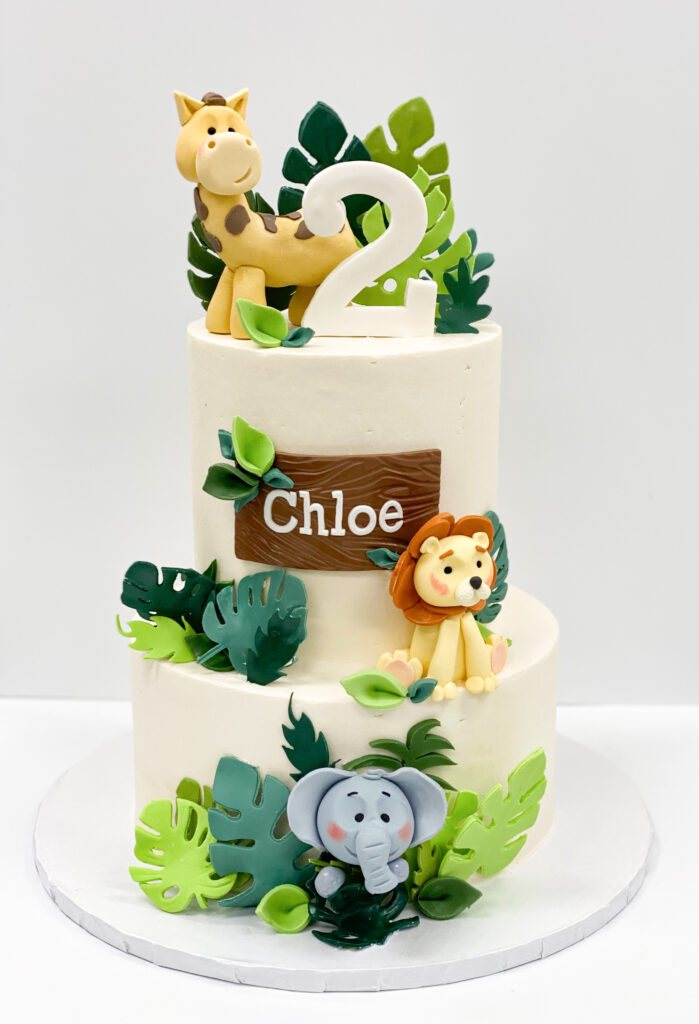
There are some cakes that you just fall in love with. The colors, the characters, the style of this cake was just too cute! This cake was for a second
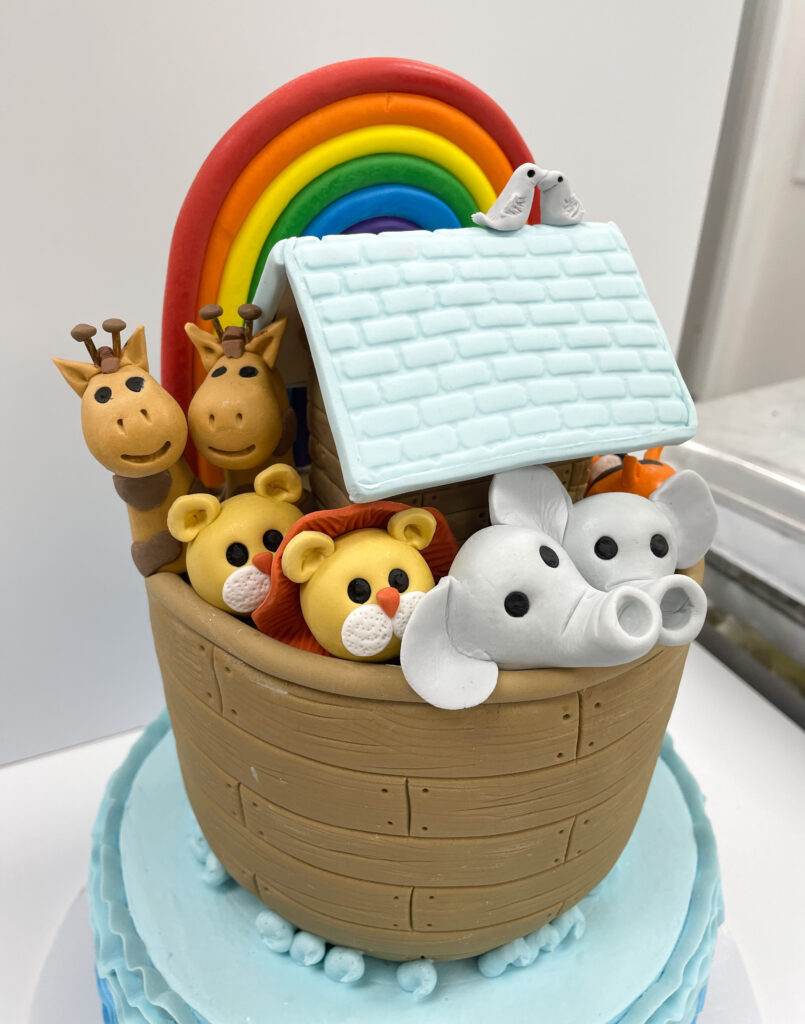
Some cakes you have to begin working on well in advance of their due date simply because of all the fondant elements that will be going on the cake. This
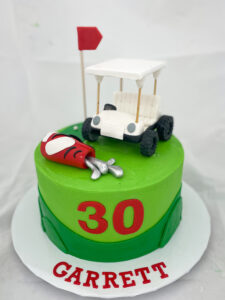
Golf cakes are always a fun request to get because there are so many design options. We can create a golf course on a flat cake with sand traps, fairways,